Century home inspections give Bay Area home buyers, sellers, builders, and property managers an honest, documented look at a property’s true condition before anyone signs on the dotted line. Specifically, a licensed inspector walks the entire home, tests every major system, and writes up a clear report so clients can negotiate repairs or move forward with confidence. Because real estate transactions move fast, knowing exactly what this process covers — including the phases unique to brand-new construction — can save buyers and builders thousands of dollars in unexpected repairs down the road.
Quick answer: Century home inspections are comprehensive property evaluations that examine the roof, foundation, electrical panels, HVAC (heating, ventilation, and air conditioning), plumbing, and structural elements of a home — whether it’s a resale property or a brand-new build still under construction. The goal, above all, is to identify safety concerns and maintenance needs before a sale, lease, listing, or final closing.
What Are Century Home Inspections?
Century home inspections involve a trained professional visually examining a residential property from the roof down to the foundation. The inspector checks every visible and accessible system, then compiles the findings into a written report complete with photos. As a result, buyers gain a clear snapshot of the home’s actual condition, while sellers can address issues proactively before listing.
According to the National Association of Realtors, roughly 88% of recent home buyers said an inspection contingency was important to their purchase decision. In other words, skipping this step is rarely worth the risk, even in a fast-moving market like the Greater Bay Area. Furthermore, this holds true whether the property is a 1920s craftsman in Oakland or a freshly framed home in a new Contra Costa development.
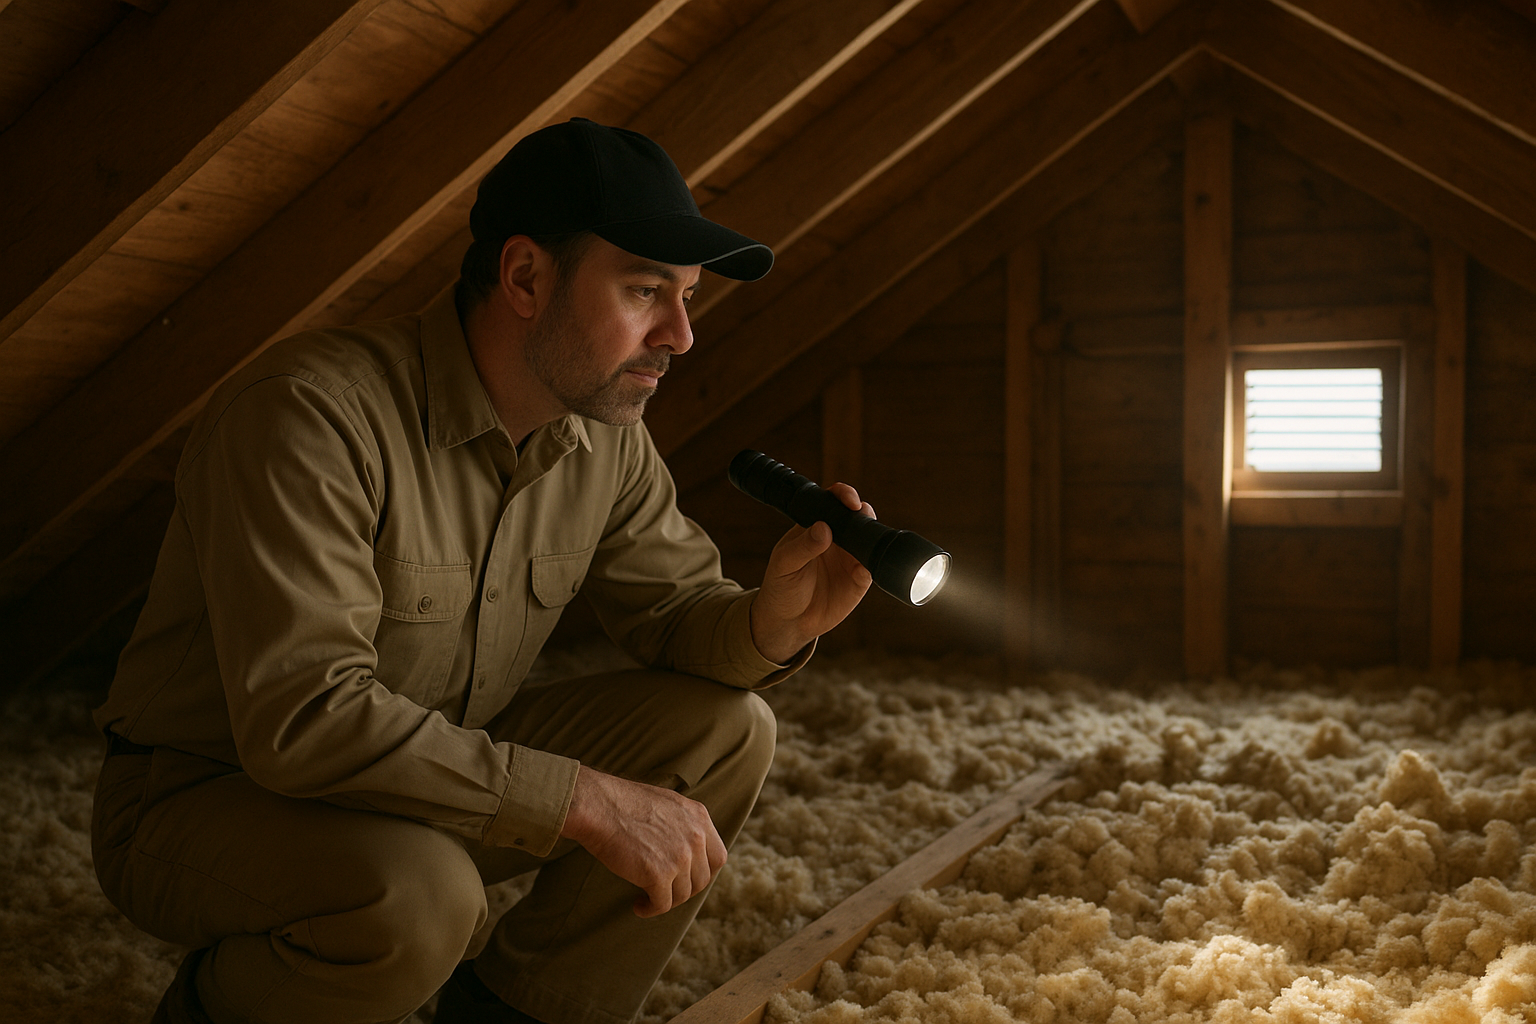
Attic checks are a standard part of century home inspections, helping catch insulation and ventilation issues early.
Why Comprehensive Home Inspections Matter for Bay Area Real Estate
Home inspections matter because they protect both financial and physical safety. For instance, a faulty electrical panel left undetected could lead to a house fire, while a hidden foundation crack might signal costly structural repairs down the road. Therefore, a thorough inspection often pays for itself many times over, long before the first mortgage payment is due.
Moreover, real estate agents frequently rely on inspection reports to guide negotiations. Sellers who complete a pre-listing inspection, meanwhile, can fix minor issues before buyers ever see them, which tends to speed up the closing process. Similarly, property managers use periodic inspections to catch maintenance problems before they become expensive emergencies for rental units across Alameda, Contra Costa, Solano, and San Joaquin counties.
The home inspection process, as documented by independent industry sources, has become a near-standard part of residential transactions nationwide — not just in California. Consequently, buyers who waive this step typically do so at considerable financial risk.
New Construction Inspections: The Phase Most Buyers Overlook
Many buyers assume that a brand-new home needs no inspection at all, since a municipal building inspector already signed off on the permits. However, city inspectors check for code compliance, not craftsmanship, and they rarely catch every workmanship defect hidden behind drywall or under a slab. For this reason, century home inspections extend into new construction with a series of phase-based visits, each timed to catch problems before they get sealed inside the walls.
Phase 1: Pre-Pour Foundation Inspection
Before concrete is poured, an inspector reviews the rebar placement, forms, vapor barrier, and soil compaction. Specifically, this step confirms the foundation meets structural plans, since any correction after the pour requires expensive demolition. In contrast, catching a reinforcement error at this stage costs little more than a change in labor scheduling.
Phase 2: Pre-Drywall (Rough-In) Inspection
Once framing, electrical wiring, plumbing lines, and HVAC ductwork are installed but still exposed, an inspector examines the rough-in work before insulation and drywall cover it permanently. As a result, this phase catches issues such as undersized wiring, improperly vented plumbing, or missing fire blocking — problems that become invisible and costly once walls are closed.
Phase 3: Final Pre-Closing Inspection
After construction wraps up, a full century home inspection covers every finished system: electrical panels, HVAC performance, plumbing fixtures, appliances, grading, and interior finishes. Because builders typically address a punch list of remaining items before closing, this inspection gives buyers independent documentation of what still needs correction, separate from the builder’s own checklist.
Phase 4: 11-Month Builder’s Warranty Inspection
Most builder warranties last exactly one year, so scheduling an inspection around month eleven gives homeowners enough time to file a warranty claim before coverage expires. In particular, this visit often reveals settling cracks, drainage issues, or HVAC performance problems that simply didn’t exist — or weren’t yet visible — during the first year of occupancy. Skipping this phase means absorbing repair costs that the builder would otherwise have covered.
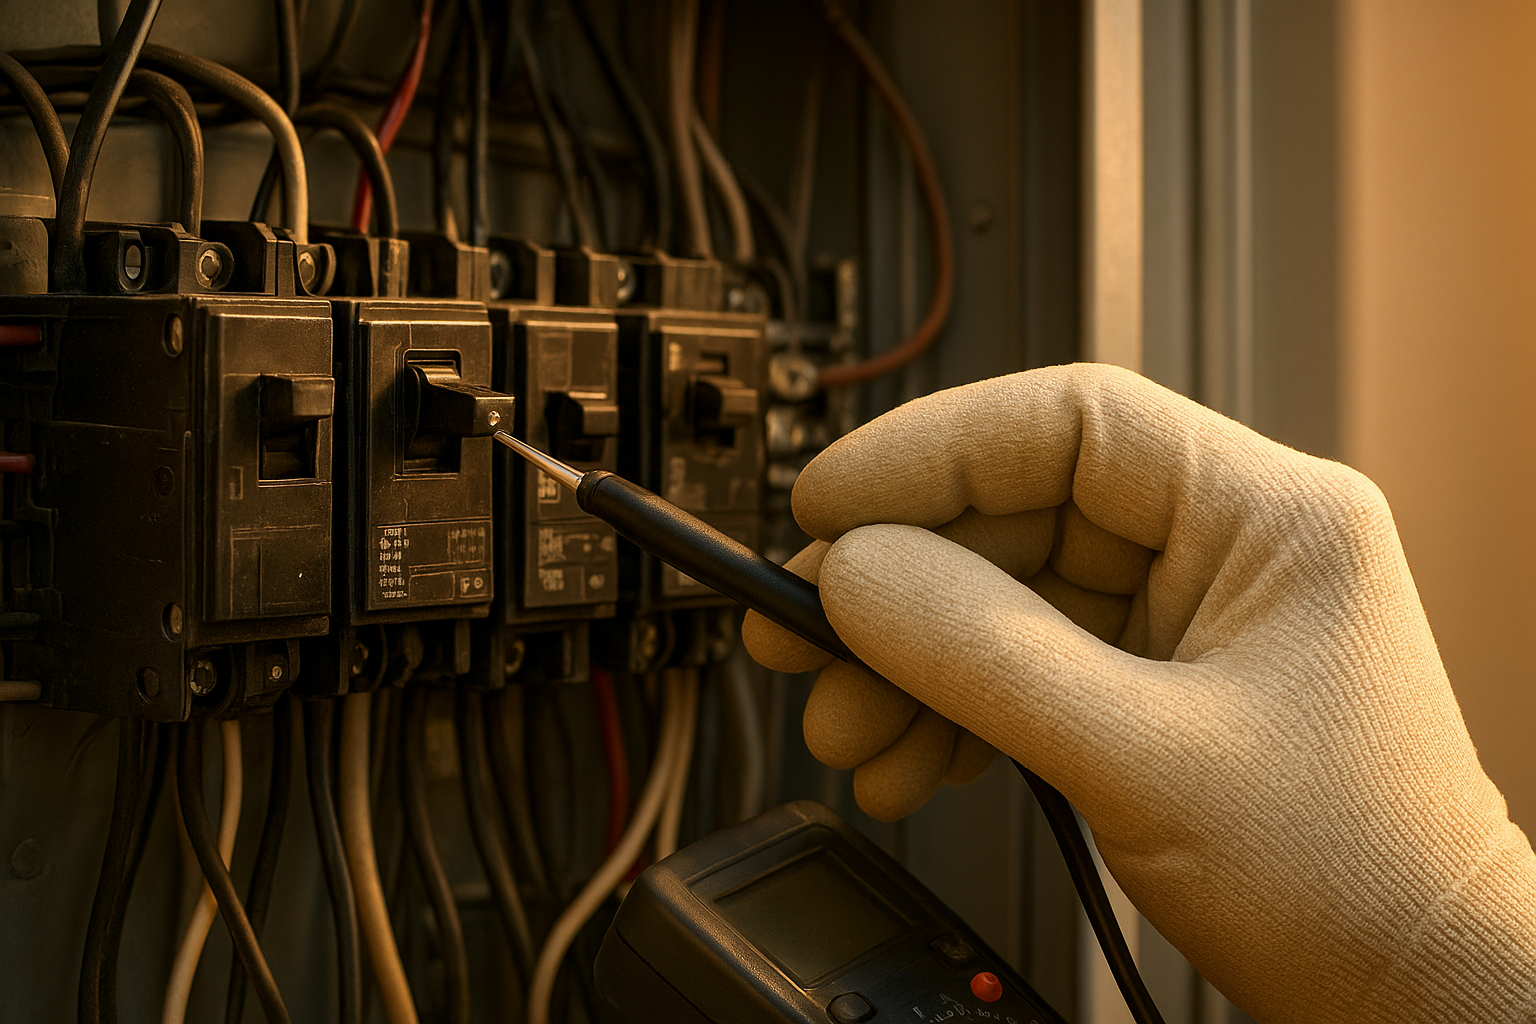
Electrical panel testing is a critical safety step in any comprehensive home inspection, including new construction final walkthroughs.
What a Full-Service Century Home Inspection Covers
A complete residential inspection typically reviews the following areas, each of which can reveal costly surprises if ignored:
- Foundation: slab (a concrete base poured directly on the ground) or crawlspace, checked for cracking and moisture intrusion.
- Roof and attic: shingles, flashing, ventilation, and insulation condition.
- Rain gutters and downspouts: drainage direction and blockage risks.
- Exterior stucco and paint: signs of water damage or deterioration.
- Electrical systems: panels, switches, and outlets for safety hazards.
- HVAC: heating, cooling, ventilation, and thermostat performance.
- Plumbing: fixtures, faucets, and the water heater — see our plumbing fixture inspection FAQ for Contra Costa specifics.
- Appliances and structural elements: walls, ceilings, floors, doors, windows, stairs, and railings.
In addition, many clients choose to pair a general inspection with a buyer’s inspection package or a separate termite and pest evaluation, since wood-destroying organisms remain a common concern in older East Bay homes.
New Construction vs. Resale Inspections: Key Differences
Although both rely on the same core skill set, new construction and resale century home inspections differ in timing and focus. Specifically, resale inspections happen once, after an offer is accepted, and concentrate on wear-and-tear from years of use. New construction inspections, in contrast, happen in stages throughout the build and focus on workmanship quality rather than age-related decay.
- Timing: Resale inspections occur once; new construction inspections occur across three or four distinct phases.
- Focus: Resale inspections look for deterioration; new construction inspections look for installation errors and code shortcuts.
- Access: New construction allows inspectors to see wiring and plumbing before walls close, which is impossible on a finished resale home.
- Follow-up: New construction includes an 11-month warranty inspection; resale inspections typically do not have a built-in follow-up visit.
Consequently, buyers of brand-new homes should never assume “new” means “defect-free.” Builders work on tight schedules, and even reputable crews occasionally miss a detail that only a dedicated inspection will catch.
How to Prepare for Your Home Inspection
Preparation makes the inspection faster and more accurate. Consequently, following a short checklist beforehand helps avoid delays or incomplete findings — a lesson that applies equally to resale homes and new builds alike.
- Schedule early: Book your inspection as soon as your offer is accepted, since most purchase contracts only allow a short contingency window for completing it.
- Clear access points: Make sure the attic, electrical panel, water heater, and crawlspace are easy to reach, and move stored items away from these areas beforehand.
- Turn on all utilities: Confirm that electricity, water, and gas are active before the inspector arrives so every system, including HVAC and appliances, can be tested properly.
- Gather maintenance records: Collect receipts for roof repairs, water heater replacement, or pest treatments, since these documents help the inspector understand the home’s maintenance history.
- Ask about new construction phase options: If you’re buying a new build, confirm with your builder when you can schedule pre-pour and pre-drywall inspections, since those windows close quickly once work continues.
- Attend the final walkthrough: Plan to arrive near the end of the visit so the inspector can walk you through major findings and answer questions on the spot.
For a visual walkthrough of what to expect, the inspection videos page shows real examples of inspectors examining common trouble spots.
Century Home Inspections for Buyers, Sellers, Property Managers, and Builders
Buyers typically request an inspection right after their offer is accepted, using the findings to negotiate repairs, a credit, or a price reduction. Sellers, on the other hand, often choose a pre-listing inspection to identify problems before buyers ever walk through the door, which tends to reduce renegotiation later. For a side-by-side look at both perspectives, our complete buyer and seller guide breaks down each process in detail.
Property managers, meanwhile, rely on a different rhythm entirely. Move-in and move-out inspections document unit condition for security deposit disputes, while periodic or routine inspections catch maintenance issues before they escalate. Safety and compliance inspections, in particular, help landlords meet local housing code requirements across multi-unit properties.
Builders and developers benefit too, since phase inspections documented by a third party build buyer trust and reduce disputes after closing. Similarly, real estate agents rely on inspection reports to build confidence between both sides of a transaction, which can prevent deals from falling apart over undisclosed issues.
How Much Do Home Inspections Cost in the Bay Area?
Pricing depends heavily on the home’s size, age, and the type of inspection requested. Below is a general breakdown based on typical Bay Area service structures:
- Standard resale inspection: approximately $350–$650 for a single-family home, depending on square footage.
- New construction phase inspections: typically $250–$450 per phase (pre-pour, pre-drywall, final).
- 11-month warranty inspection: often priced similarly to a standard inspection, around $300–$500.
- Termite and pest add-on: usually $100–$175 when bundled with a general inspection.
- Rental property inspections: often billed per unit, with discounts for multi-unit or portfolio clients.
Above all, treat these figures as a starting point rather than a guarantee. Larger homes, detached structures, and specialty testing such as radon or mold sampling will raise the total cost.
Choosing the Right Century Home Inspections Company
Not every inspector offers the same depth of service. Look for a company that covers foundations, roofs, electrical panels, HVAC, plumbing, and structural elements in a single visit, rather than one that only checks a handful of systems. Credentials matter too; organizations such as the American Society of Home Inspectors and the International Association of Certified Home Inspectors set training standards that reputable inspectors follow.
21st Century Home Inspection, for example, serves Alameda, Contra Costa, Solano, and San Joaquin counties with buyer’s inspections, seller’s inspections, new construction phase inspections, rental property inspections, and termite or pest evaluations. Clients can review service details on the company homepage or check common questions on the FAQ page before booking.
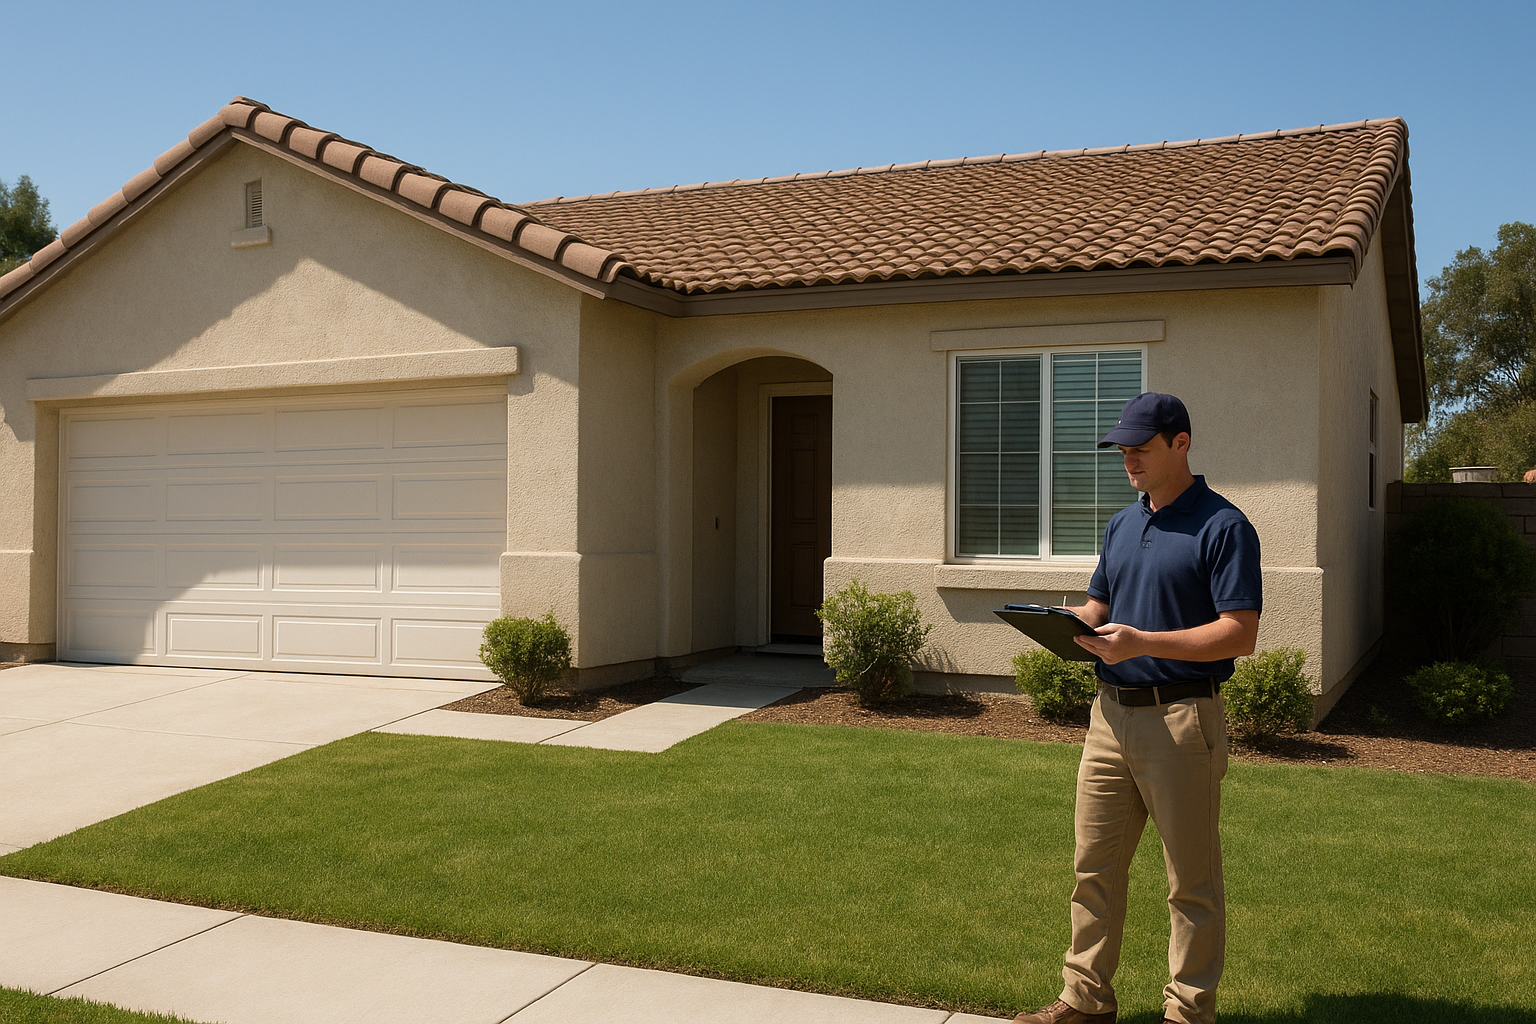
Foundation and exterior checks are often the first steps in a complete property evaluation, whether resale or new construction.
Frequently Asked Questions About Century Home Inspections
What are century home inspections?
Century home inspections are full-property evaluations that check a house’s structure, roof, foundation, electrical, plumbing, and HVAC systems before a sale, listing, or lease. The inspector documents findings in a written report so buyers and sellers can make informed decisions.
How long does a typical home inspection take?
Most residential inspections take between two and four hours, depending on the home’s size and age. Larger properties or homes with additional structures, such as detached garages, usually take longer.
How much does a home inspection cost in the Bay Area?
Prices generally range from $350 to $650 for a standard single-family home, though cost varies with square footage and add-on services like termite or pest inspections. Larger homes or properties needing specialty testing may cost more.
What is the difference between a buyer’s and a seller’s inspection?
A buyer’s inspection happens after an offer is accepted and helps the buyer negotiate repairs or price. A seller’s, or pre-listing, inspection happens before the home goes on the market so sellers can fix issues early and set realistic pricing.
Do I need to be present during the inspection?
Attending is not required, but it is strongly recommended because it lets you ask questions and see issues firsthand. Most inspectors welcome buyers during the final walkthrough portion of the visit.
What does a home inspector check on the roof?
Inspectors look at shingles, flashing, gutters, and downspouts for signs of wear, leaks, or improper drainage. They also check attic ventilation and insulation, since poor airflow can shorten a roof’s lifespan.
Can a home inspection fail a house?
A home inspection does not pass or fail a property; it simply documents its current condition. However, serious safety hazards, such as faulty wiring or structural damage, can affect financing or negotiations.
What’s the most common issue found during inspections?
Electrical deficiencies, minor roof wear, and plumbing leaks are among the most frequently reported issues. Foundation cracks and poor attic ventilation also appear often in older Bay Area homes.
Are termite inspections included in a standard inspection?
Termite and pest inspections are usually a separate service from the general home inspection, though many companies offer them together. Lenders in California often require a termite report before closing.
How soon can I schedule an inspection after an accepted offer?
Most inspectors can schedule a visit within one to three business days of the request. Scheduling quickly matters because most purchase contracts include a limited inspection contingency period.
What should I do after receiving my inspection report?
Review the report with your real estate agent to prioritize safety issues versus cosmetic concerns. You can then request repairs, a price credit, or further evaluation from a specialist contractor.
Do rental property inspections differ from buyer inspections?
Yes, rental inspections often focus on move-in and move-out condition, routine maintenance, and safety compliance rather than a purchase decision. Property managers typically schedule them on a recurring basis.
What mistakes do homeowners make before an inspection?
Common mistakes include blocking access to the attic, electrical panel, or water heater, and failing to turn on utilities beforehand. These oversights can delay the inspection or lead to incomplete findings.
What is a new construction inspection, and do I need one for a brand-new home?
A new construction inspection is a series of visits, timed with the building schedule, that checks workmanship at the foundation, rough-in, and final stages. Yes, you still need one, since municipal permit inspections verify code compliance only, not quality craftsmanship.
What is an 11-month warranty inspection, and why does it matter?
An 11-month warranty inspection takes place just before a builder’s one-year warranty expires, catching settling cracks or system failures that appear after move-in. Scheduling it on time ensures any covered defects get repaired at the builder’s expense, not yours.
Final Thoughts on Century Home Inspections
In short, century home inspections offer buyers, sellers, builders, and property managers a clear, documented view of a property’s real condition — at every stage, from a pre-pour foundation check on a new build to a pre-listing walkthrough on a century-old bungalow. They cover everything from the roof and foundation to electrical panels, HVAC, plumbing, and structural elements, which helps everyone involved avoid costly surprises. Whether you are purchasing your first home, preparing to list a property, managing rental units, or building new construction across the Bay Area, scheduling a thorough inspection remains one of the smartest steps you can take. For more detail on specific services, visit the services overview page or explore the 21st Century Home Inspection homepage to schedule your next visit.